


How to Fix a Flashlight | Troubleshooting Your Fenix Flashlight
Troubleshooting
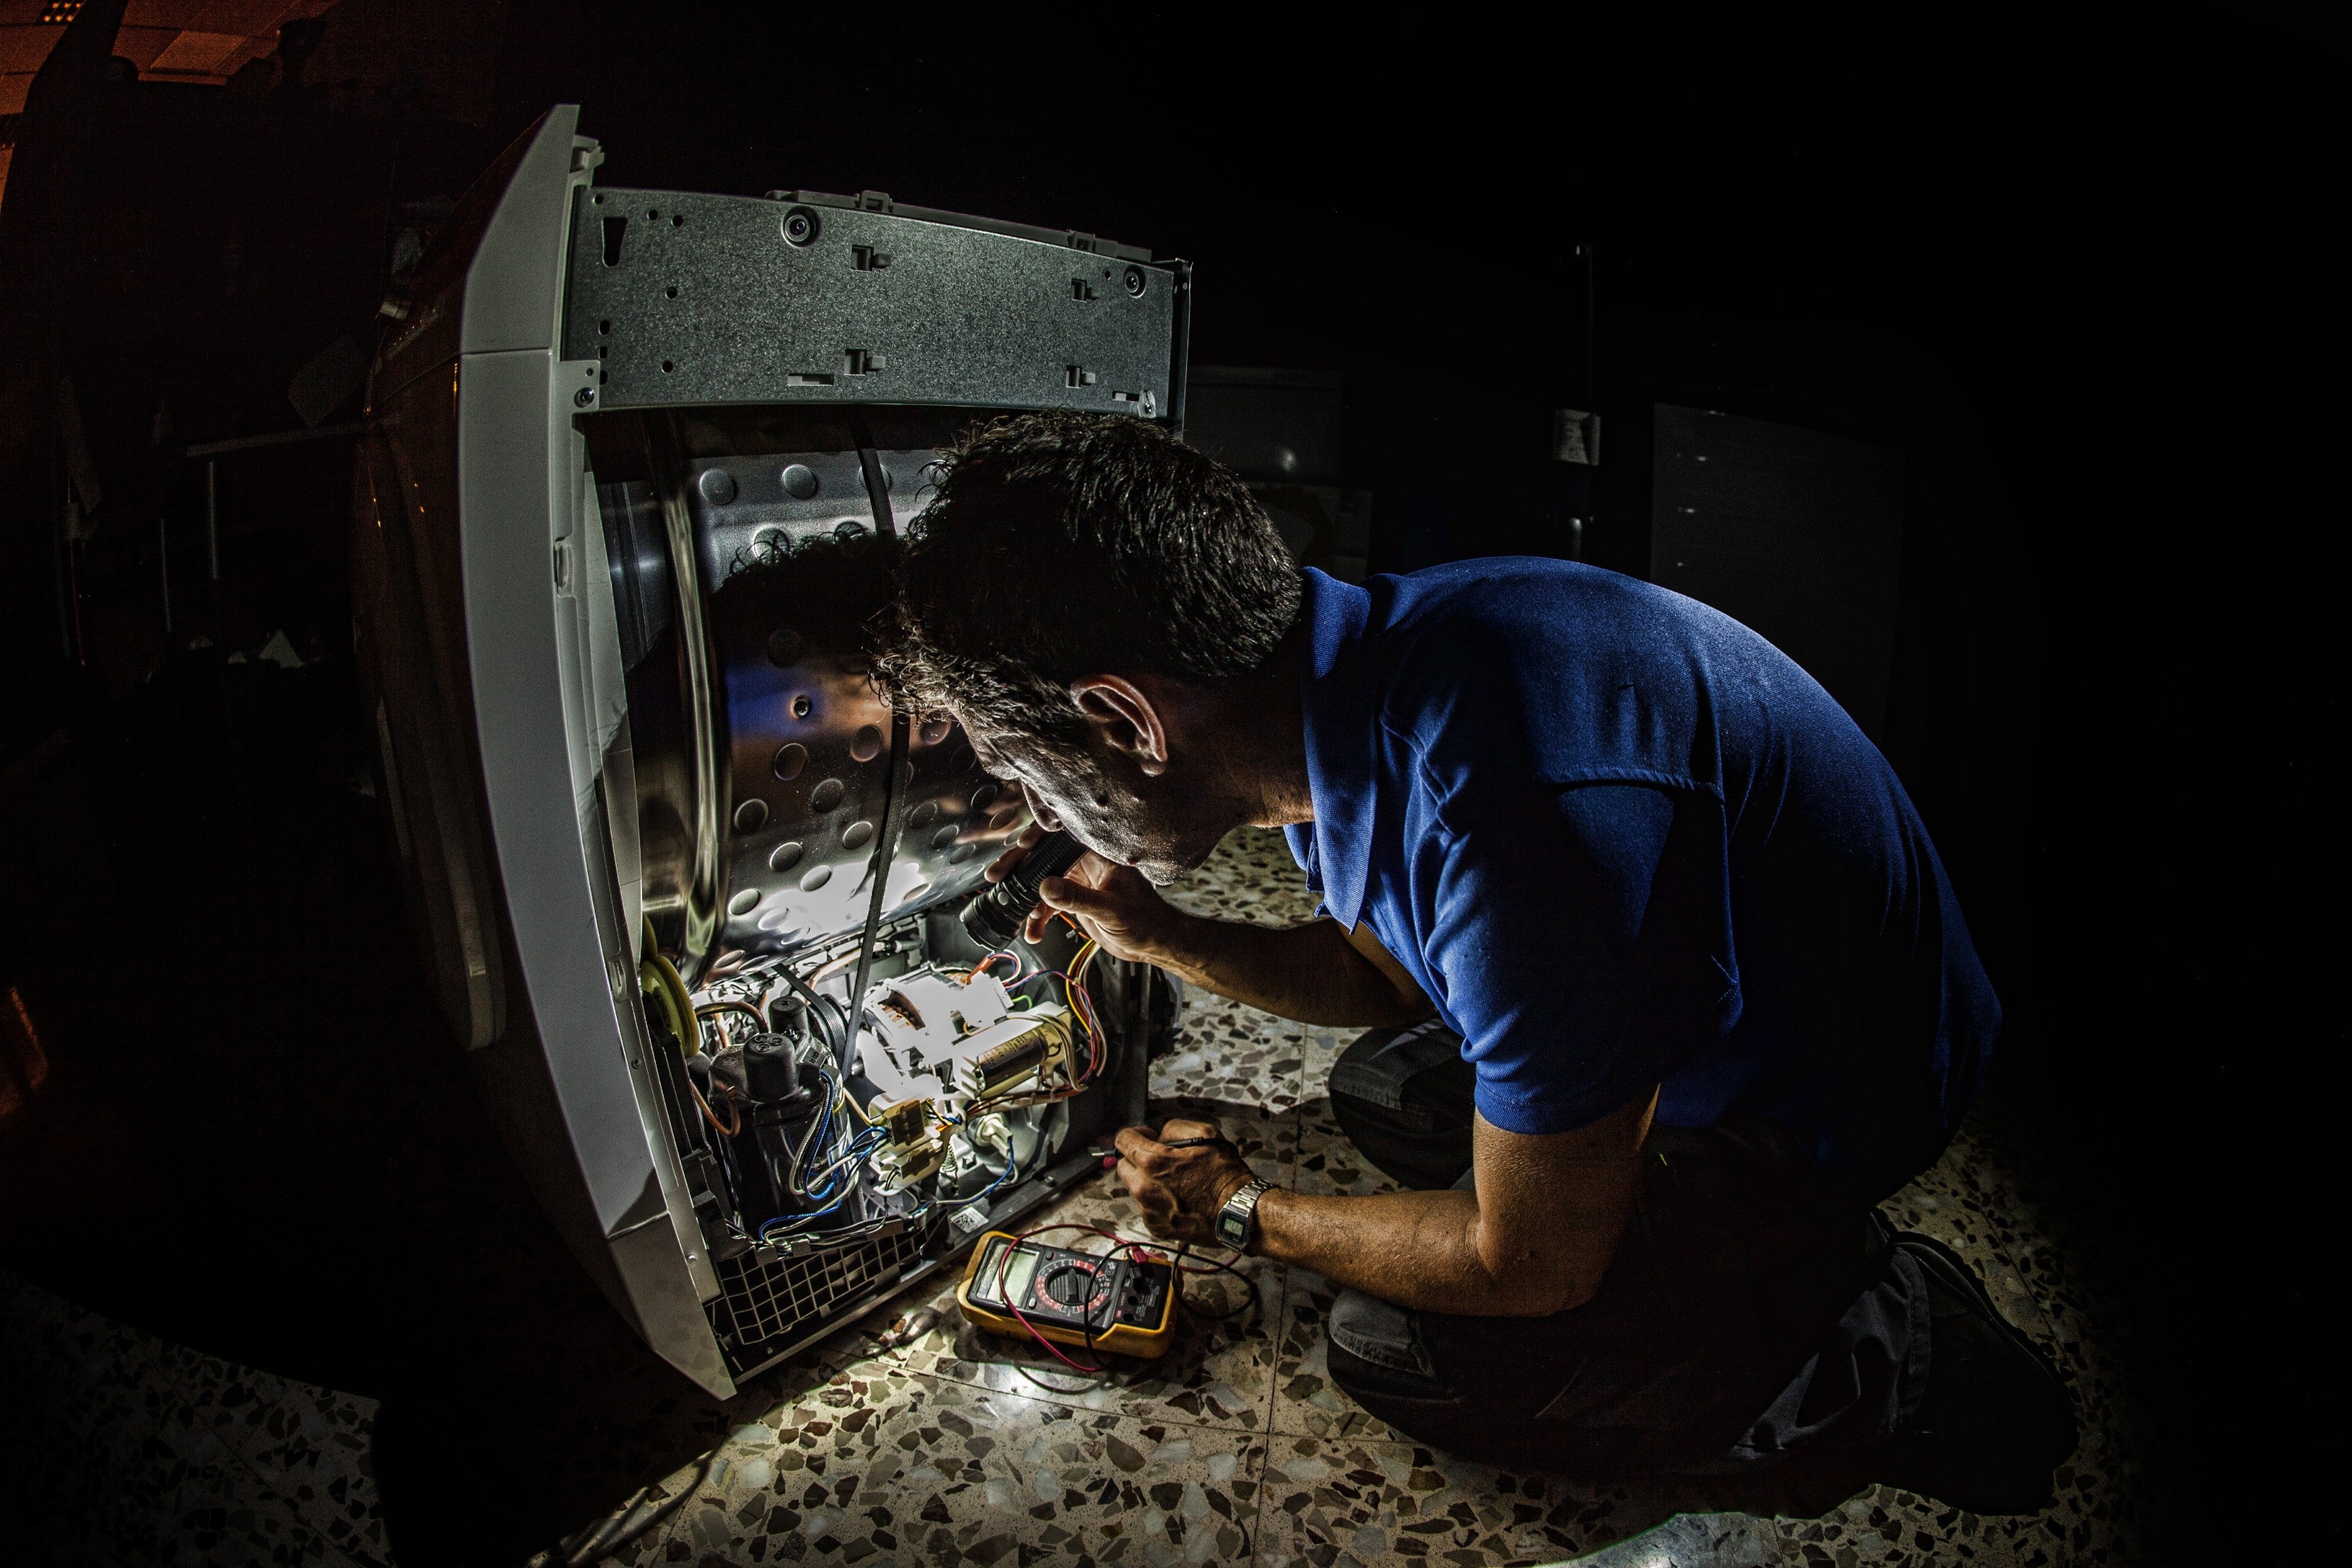
Hello and welcome back to Fenix Store. Today we will be covering some of the most common and basic troubleshooting steps that you can go through any time if your light has stopped working, or we often we'll ask you to do these troubleshooting steps before you send it in for a warranty work. We ask that you do that just to save both you and us some money on shipping, that way you don't have to pay to ship a light into us, and then it turns out that there was nothing wrong with it, and then we ship it back to you and we're both out $5 to $10 on shipping.
The most common problem that we experience with people is just simply that their flashlight isn't working. There are many causes for this to have happened. There are lots of reasons that the light might not work such as a piece in the circuit board may have broken or come loose, or it could be simply as easy as replacing a faulty battery. The number one reason that we get people calling in and sending in flashlights is simply because the tail switch it doesn't work.
Tail Switch Issues
It definitely sometimes can appear that the tail switch is broken, but typically the problem is not that the tail switch is broken, it's just that it is a bit loose in the housing. The way that you fix that, is that on most of the flashlights, you are able to take off the tail cap piece. If you do, and you look at the inside of the tail cap, you'll see that there is a spring that comes out. Now, that spring is attached to the tail switch. Around that spring, there is a silver ring on either side of the spring and will normally have two small indentions in it.
This is the, what we call, the, "Silver ring," or we sometimes refer to it as a, "Silver washer," or even sometimes a, "Silver O-ring." What you'll want to do is to tighten that silver ring down. You can take a spanner wrench, or a pair of needle nosed pliers. Or, if you don't have either of those, you can even use tweezers. Tweezers are a little more difficult to use. Basically what you're going to do is just stick them in between those two holes, or stick each of the needle noses, or the piece of spanner wrench in those little holes, and you're going to turn it counterclockwise to the left.
There are some of the older flashlights that will actually turn right as a normal screw, but normally, especially in the more modern units, it will be a reverse threading. That's to help prevent it from becoming unscrewed by accident when you screw on and off the tail cap while changing batteries. Basically again, you will turn the silver ring to the left until it is completely tight, and then simply put the tail cap back on the flashlight and try it again.
This is the same way that you will also go about replacing the tail switch if we send you a replacement tail switch, you will just turn it to the right. Again, the reverse threading to the right, to completely loosen and then pull on the spring to remove the switch. Then you'll just want to pay attention to the order that the different pieces come out in, and make sure you put the new switch back in with the other pieces in that same order.
Always make sure that you do not put any LocTite, or any other sort of threading glue on the O-ring. That is just in case the tail switch does ever need to be repaired. If you put the LocTite on there then it will be basically impossible to get the silver ring off, and therefore we'll have to replace the entire tail cap in the event of a tail switch malfunction. A whole tail cap is a lot harder to get a hold of than just the switch, so that's why we recommend not using the LocTite.
We do recommend that you occasionally check, tighten that silver ring down, even if you aren't having a problem. Just because, like I said, it does, even with the reverse thread, it does get a little loose, very, very small bits at a time. Until eventually it may become so loose that you can't use the flashlight. A good way to prevent that from happening in the first place is just to tighten that silver ring down every now and again, just in case. Keep in mind that this is not a fix for every flashlight, not every one of our flashlights has that silver ring. But a good portion of them do.
Flashlight Body Adjustment
The next thing that often will cause a light to not turn on, especially in our models like the Fenix PD35 V3, and Fenix UC35 V2 where the head piece and the tail piece can go on either side of the body, is mixing the pieces up. People think sometimes that they can swap the head and the tail around to switch where the pocket clip goes, but it is required that they are put on the correct ends. The tail cap piece should go on the side next to where the pocket clip hugs the flashlight. Think about it like if you were to put the flashlight in your pocket using that pocket clip, the light should be facing down into your pocket.
The reason for this is because the threading on both sides is not exactly the same. One side is longer than the other. If you put them on the incorrect sides, it will not make a full connection, and therefore not be able to light. That is another good thing to check if you're having trouble, if the light is not turning on, just make sure that your head and your tail pieces are on the correct side.
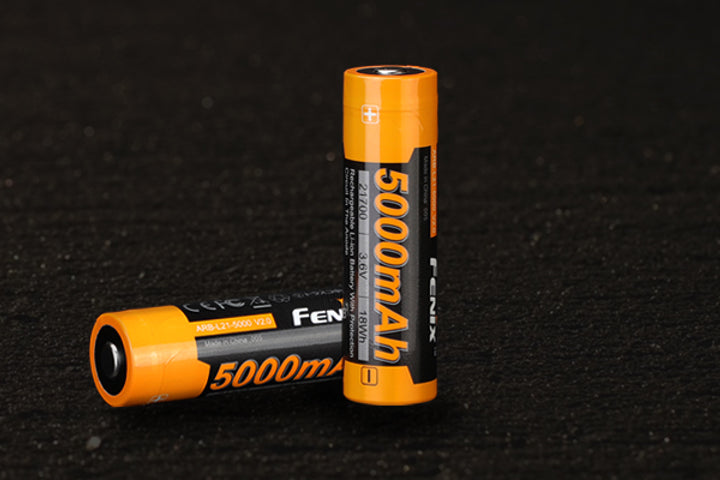
Another thing that you can do is check your batteries. You can try out new batteries, if you have backup batteries. So if your flashlight runs on an 18650 and you have a spare, try the spare out in the flashlight. However, for some of those batteries, especially the more expensive ones, I know many people will only have one. If you can go to a store that sells flashlights or batteries, you can ask to try one at a store. Or perhaps ask a friend if they have a flashlight that uses a Fenix 18650.
Flashlight Output Test
We have another trick to do if you're still having trouble. and this is for efficiency's sake. If you were to call in and tell us about it, this will help us to help you more quickly. You can take off the tail cap of the flashlight and, with the batteries in the light, you can take a piece of metal, you can use a set of tweezers or, what I typically recommend, a paperclip. You put the paperclip flat against the negative end of the battery while it's in your flashlight and push down with your thumb until the paperclip is touching both the battery and the rim of the flashlight.
This is bypassing the tail switch. We're using that paperclip to replace the tail switch, and connecting the battery to the outside of the flashlight, and making an electrical connection to turn it on. If the flashlight turns on or remains off, that gives us more of an idea as to what might be wrong with the light.
That way if you do call us and tell us that you've done the switch diagnosis, then we'll know that it is in fact either your tail switch, or maybe the tail cap that is not working properly. That is just, that'll help speed things up. See this video for a bit more clarity:
If you have any other questions about anything like that, just give us a call, or send us an email and we'd be happy to help you out at any time. Thank you very much for coming in today, and you have a good day.